How to Drain Your Water Heater: A Step-by-Step Guide
Tank water heaters are a dependable way to secure a fast supply of hot water for your home. The inclusion of a storage tank ensures some hot water is readily available. But over time, foreign substances can build up within the storage tank. This could be sediment or mineral buildup arriving from the main water line or a crack in the pipes. Whatever the source is, this buildup will sometimes negatively impact the efficiency of water heaters. In severe cases it can clog up drainage and may even cause premature failure.
Fortunately, draining your water heater and removing sediment buildup is a relatively simple task. An experienced plumber in Windsor can handle the process, but you can also drain the tank yourself if you know what you’re doing. Either way, draining the tank now can help lower the risk you’ll need premature water heater replacement.
Before You Begin…
Before you start draining the tank, you’ll need to shut off the cold water supply. The supply valve connects your water heater with the main water line. Unless you have access to a well (and you might need to drain the tank more often if you do), the water main provides all the potable water your home uses. Keeping the valve closed will prevent more water from entering the tank, allowing you to completely empty it.
You’ll also want to grab a rubber hose, like one you could use for yard work. The hose allows you to safely drain the water heater tank without spilling water in your garage, utility closet, attic or wherever the water heater is stored. Make sure you put the other end of the hose far away from your home to prevent the water from seeping back inside.
Finally, a screwdriver will help you loosen stubborn screws or valves. You shouldn’t need any more tools than this unless you stumble upon a problem with the water heater or adjacent piping. At that point, it may be best to hire a certified plumber in Windsor.
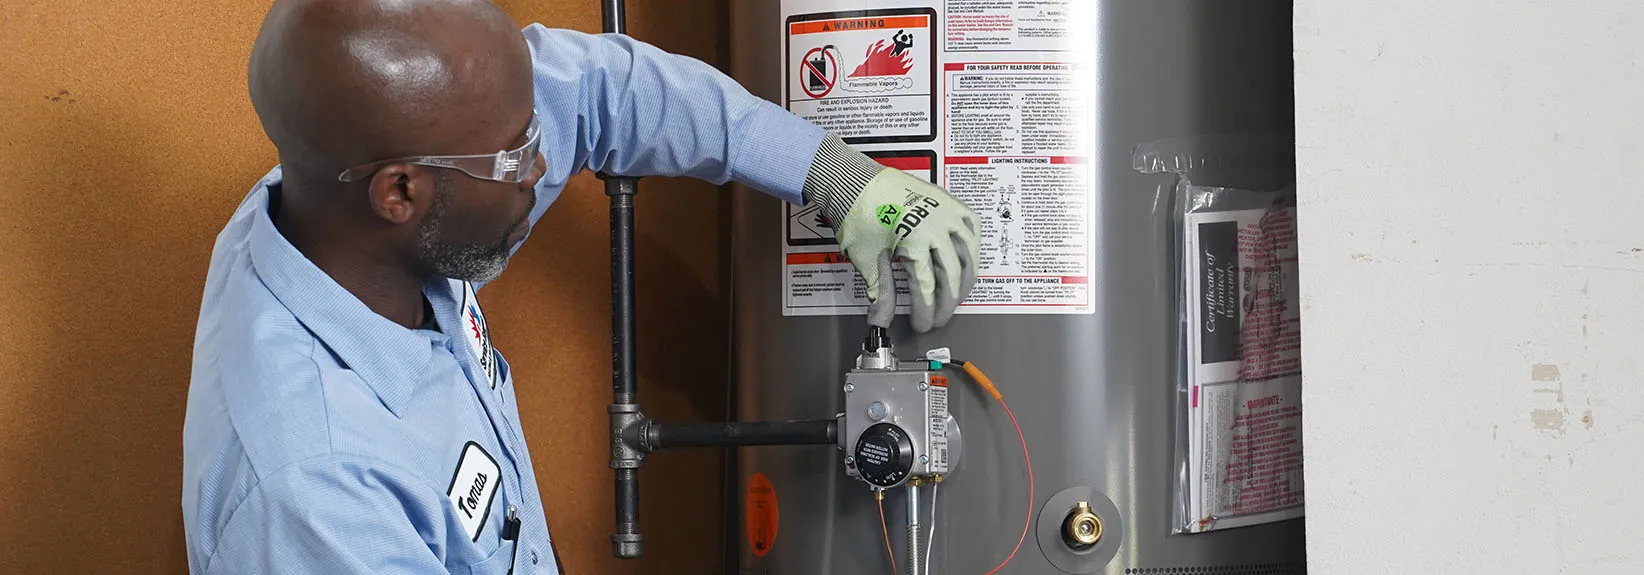
Step 1: Shut Off the Water Heater
After you’ve turned off the water supply, you can shut off the water heater itself. This will be on the thermostat for natural gas water heaters or with a breaker switch for electric models. The pilot setting on gas water heaters can continue to stay on during flushing, but electric models must be completely off. This is due to the heating elements electric water heaters use, which remain submerged. In an empty tank, they may quickly overheat. You should also find the model’s manual, as some water heaters must be completely full before the heating elements are turned on.
Even after you’ve shut off the water heater, you’ll have to wait for the water stored in the tank to cool down. It can be hours before the water reaches a safe temperature, so it is usually best to leave the remaining steps for the following day.
Step 2: Secure the Hose to the Water Heater’s Drain Valve
Tank water heaters possess a drain valve you can use to empty the storage tank. Once you’re sure the water supply is disconnected and the water heater itself is off, go ahead and find the drain valve. Some models will have it covered up. Make sure the hose is securely fastened to prevent spilling hot water near you and the water heater.
Step 3: Open a Faucet or Other Hot Water Tap
Your home’s plumbing uses pressure within the piping to sustain a consistent flow of water from the main water line to the rest of the house. This pressure will have to be relieved before the hot water can actually flow from the tank. By heading to the nearest faucet or spigot, you’ll release the pressure inside the piping. All you have to do is open the hot water tap to relieve the pressure before returning to the water heater.
Step 4: Release the Drain Valve
Keep in mind that this water could still have some residual heat. Open the drain valve and allow all the water to drain from the tank. This should carry sediment buildup out of the tank and away from your home. But some buildup might be stuck to the inside of the tank. Turning the cold water supply back on will help flush stubborn minerals and other substances from the tank.
Repeat this step until the water appears clear of sediment or minerals. If the drain isn’t working because of an obstruction, a trained plumber may be required.
Step 5: Re-Shut the Valve Before Refilling the Water Heater
If everything proceeds like it’s supposed to, you should be able to remove most excess sediment hiding inside your water heater. Seal up the drain valve, detach the hose and open the water supply to get things flowing again. As the water heater tank starts to fill, head back to the hot water tap you opened. Once cold water starts to flow, you know the pressure is back at appropriate levels.
At this point, you can open the gas valve or flip the breaker switch back on. Like we mentioned before, don’t forget that certain models might need to be entirely full before the water can be safely heated. Make sure you look through your manufacturer’s instructions before starting the process.
Keep Your Water Heater Sediment-Free for Best Results
Tank water heaters continue to be a great option for supplying your hot water needs. Draining the tank every 1-2 years will help clear out sediment buildup and keep things running at maximum efficiency. If you think your water heater is past the point of efficient heating, consider looking for water heater replacement in Windsor from a technician you trust.